TH
TH  EN
EN A DIY Chiang Mai Property Photography Guide That Actually Sells — Techniques to Make Phone Photos Look Professional
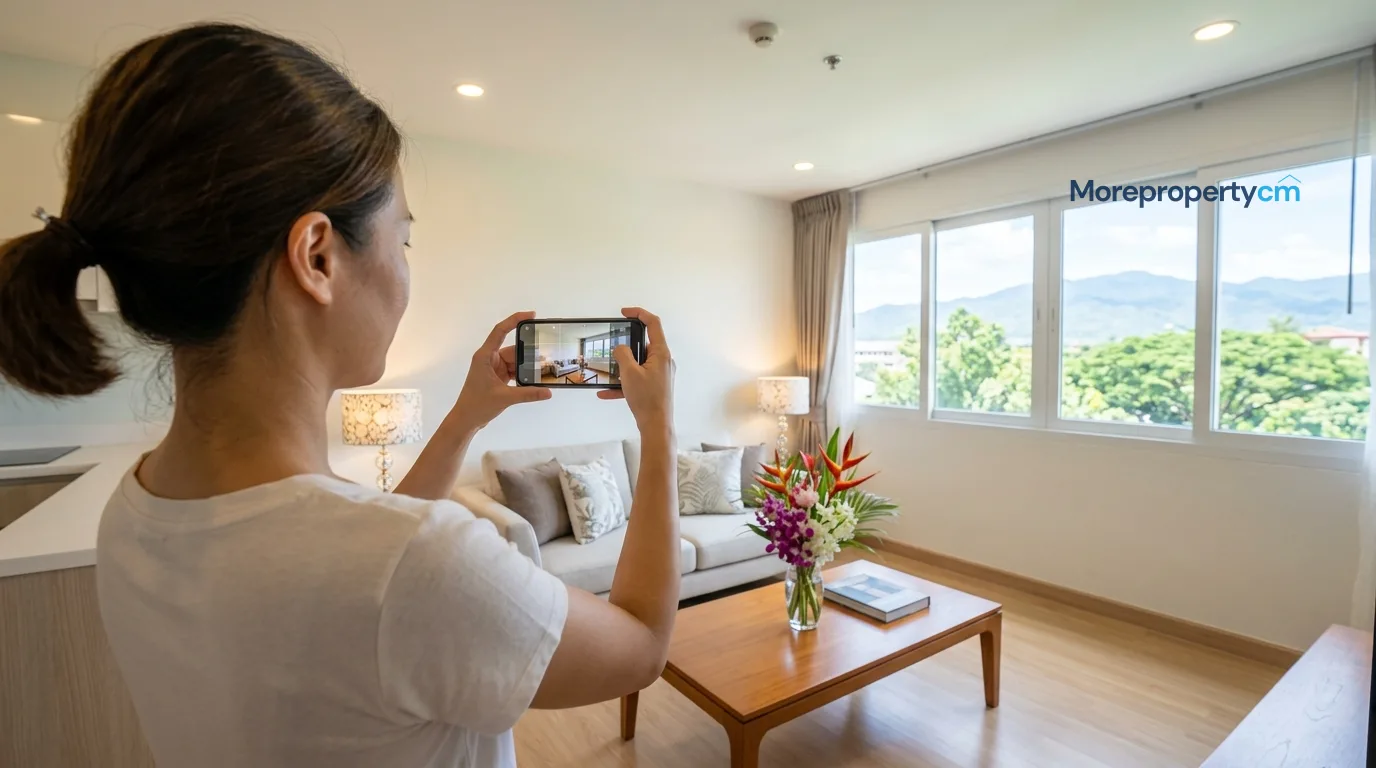
If budget doesn't allow for a professional photographer, this article helps you get the best possible images from your existing phone.
Step 1: Prepare the Room Before Shooting (Most Critical)
Remove all personal items: Floors, tables, kitchen counters, and bathrooms must be completely clear of personal items, medicine bottles, towels, or visual clutter.
Deep clean: Windows, glass, tiles, and floors must be spotless — stains and dust show clearly in photos.
Arrange artfully: Cushions on sofas aligned, bed linen pressed flat; add color touches with a table runner.
Add life: Fresh flowers in a vase, fruit in a bowl in the kitchen, or a small plant — significantly energizes the image.
Step 2: Light Is Everything
Turn on every light in the room: Reduces shadows and creates even brightness throughout.
Shoot during daylight: Natural window light is best — shoot between 9:00 AM and 3:00 PM.
Watch for Backlight: If shooting toward a window, the room will be dark and the window will be blown out bright. Shoot with light behind you instead, or adjust Exposure.
Step 3: Camera Angles That Make Rooms Look Wider
Stand in a corner of the room: Shooting from a corner captures maximum visible space in one frame.
Hold the phone at chest height, not eye level: Chest height (approximately 120 cm from floor) gives better proportions and makes rooms appear wider than eye level.
Always shoot Landscape (horizontal): Never portrait orientation for real estate.
Use Grid lines for straight edges: Enable camera grid to keep room edges, ceiling lines, and door frames straight and not tilted.
Step 4: Shooting Order
Living room → Bedroom → Kitchen → Bathroom → Balcony/garden → Building entrance → Parking → View from that floor.
Step 5: Basic Photo Editing
Use Lightroom Mobile (free): Brightness +10-20, Contrast +5-10, Highlights -10-20, Shadows +10-20. Creates bright images showing both highlight and shadow detail simultaneously.
What to Avoid
Never shoot room corners diagonally; never include personal items in frame; never use Flash indoors — it creates flat, unnatural light.
Must-Have Photos in Every Listing
Living room from 1-2 angles; bedroom 1-2 angles; kitchen; bathroom; balcony or garden (if any); view from the property; building exterior.
MORE Value. MORE Trust. Always.
Contact us today for a free consultation:
Line: @morecm | www.morepropertycm.co.th
Aurakanya: +66 83-236-9428
Eknarin: +66 96-236-9745
A DIY Chiang Mai Property Photography Guide That Actually Sells — Techniques to Make Phone Photos Look Professional
12 Oct 2026
17 ครั้ง